Cheques Managment :
Open the Entry Form: Click the Add Cheque button (likely the green + icon on the main screen).
Identify the Source:
Select or Add New Client.
Select or Add New Project.
Record Cheque Details:
Enter the Cheque No.
Select the Bank Name and Branch.
Enter the Cheque Amount (e.g., in QAR).
Confirm the cheque Date and who received it (by).
Set Initial Status:
Confirm the initial Status (default is Received).
Add any important Comment.
Finalize: Click the Submit >> button.
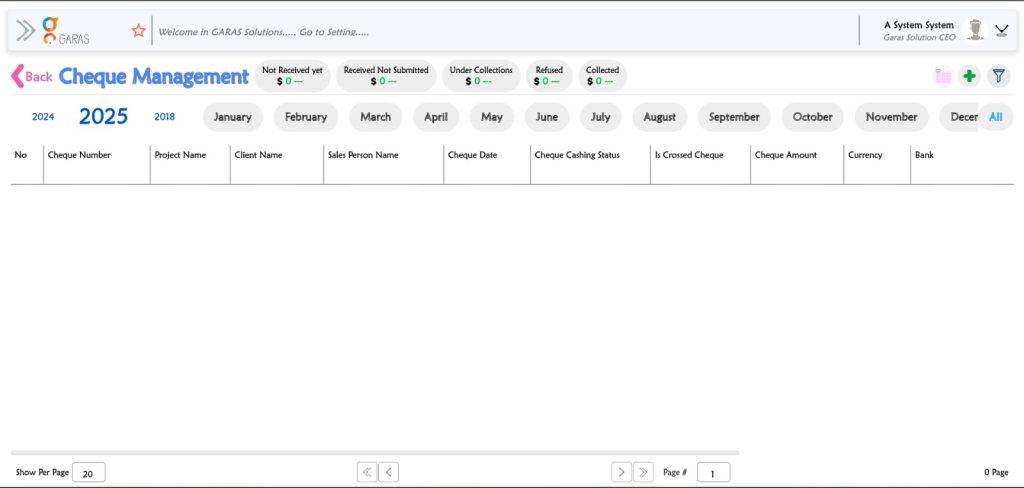
Phase 2: Tracking and Monitoring (Using Image 1)
Once submitted, the main dashboard is used to monitor the cheque’s progress:
Find the Cheque: Locate the cheque in the main list by searching/filtering by Cheque Number, Client Name, or Cheque Date.
Monitor Status: Use the key filters at the top to see the current stage of the payment:
Not Received yet: (Before Step 1)
Received Not Submitted: The cheque is ready to be deposited.
Under Collections: The cheque is at the bank and being processed.
Refused: The cheque has bounced or failed collection.
Collected: The funds have successfully cleared and are in the account.
Review History: Click on the individual cheque record to view details, notes, and status changes over time. You can also filter by Year (2025, 2024, 2018) or Month to review specific periods.